

Unmarked Course
Here is everything you need to know about how the course works, how to shoot it, and how to keep score.
The Basics: What is the Course?
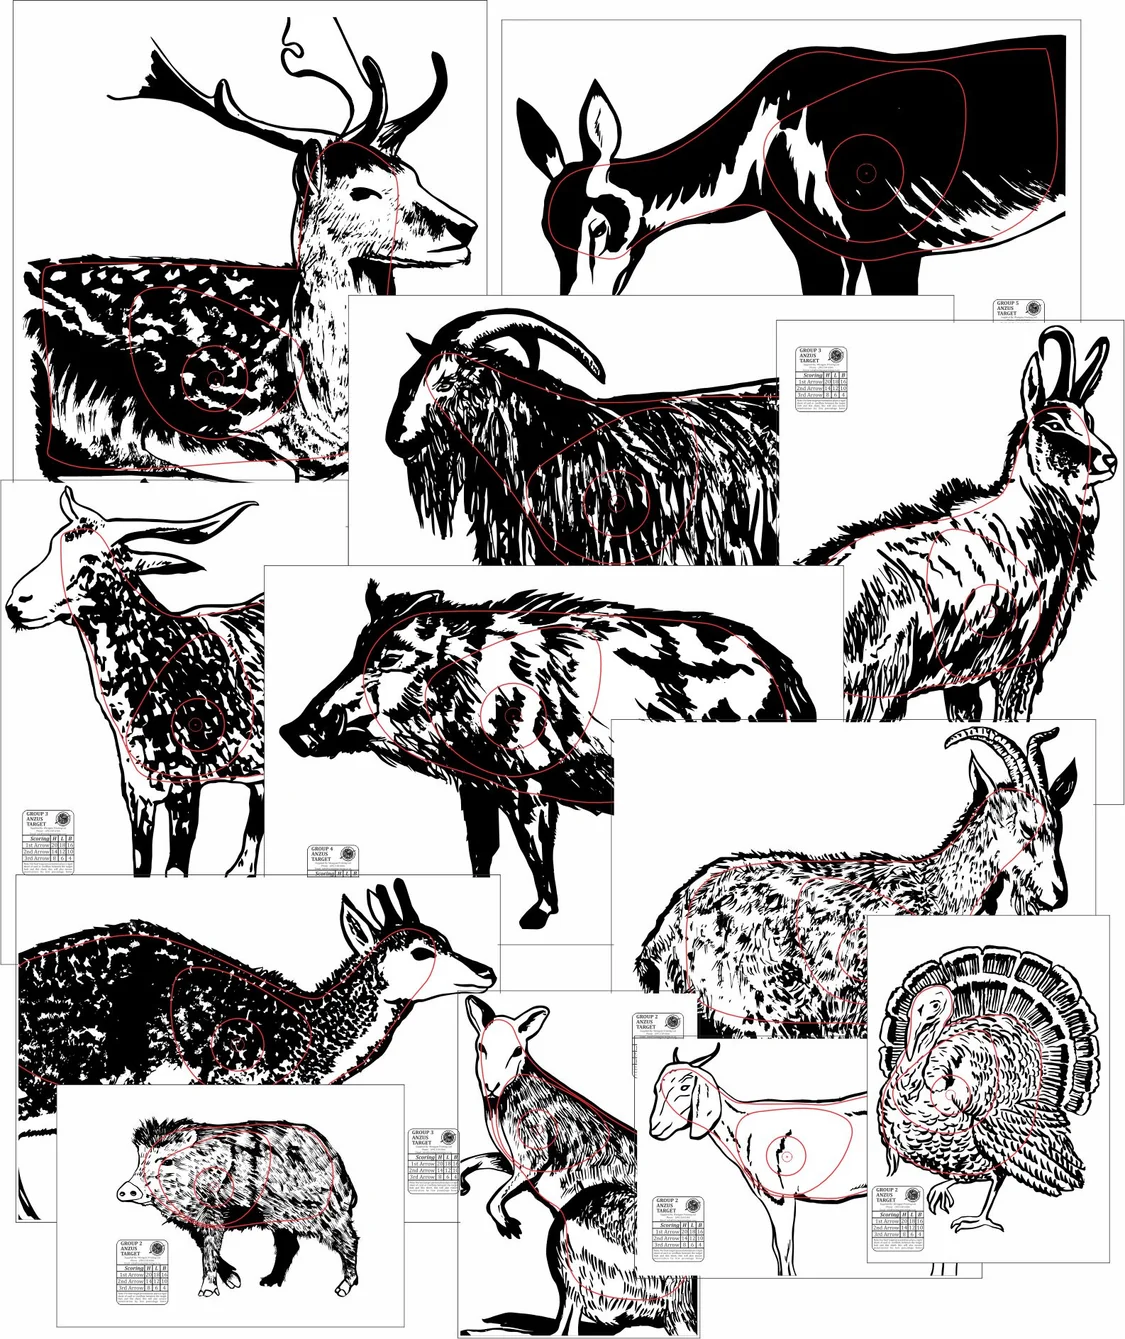
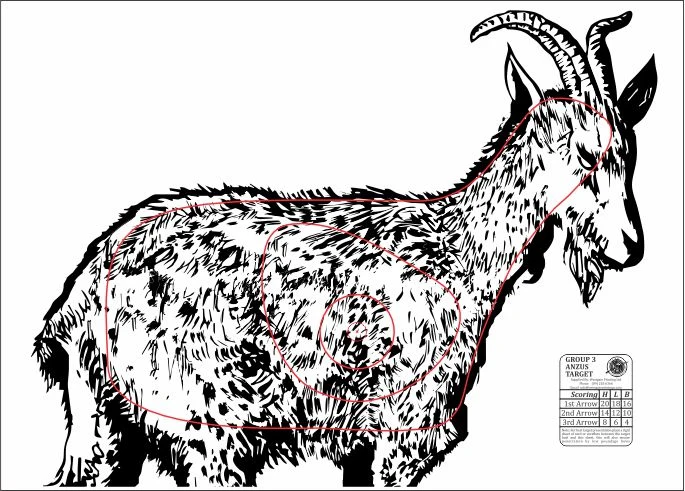
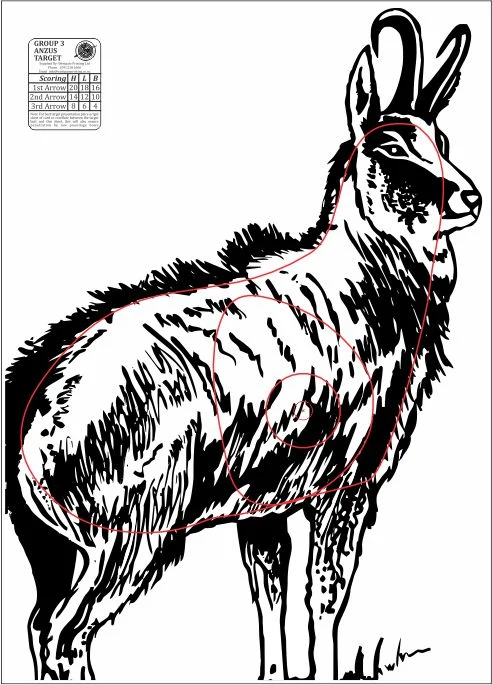
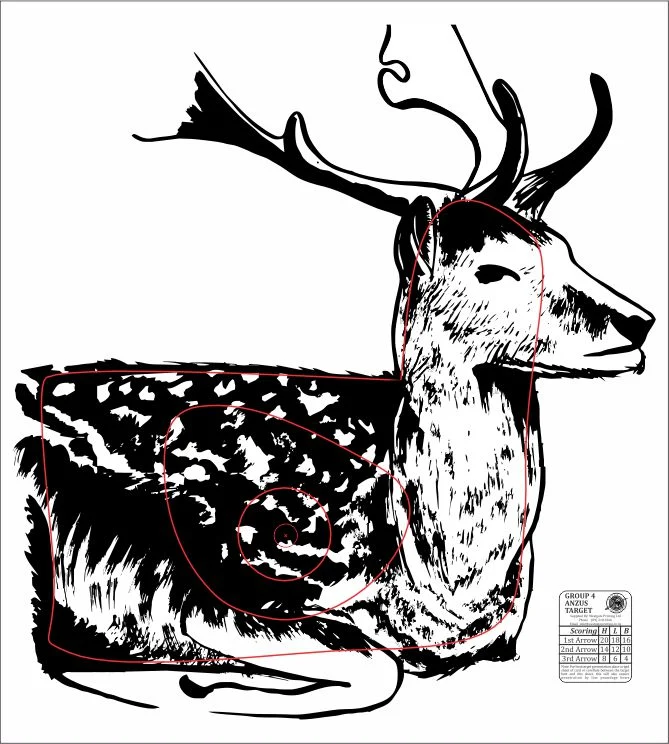
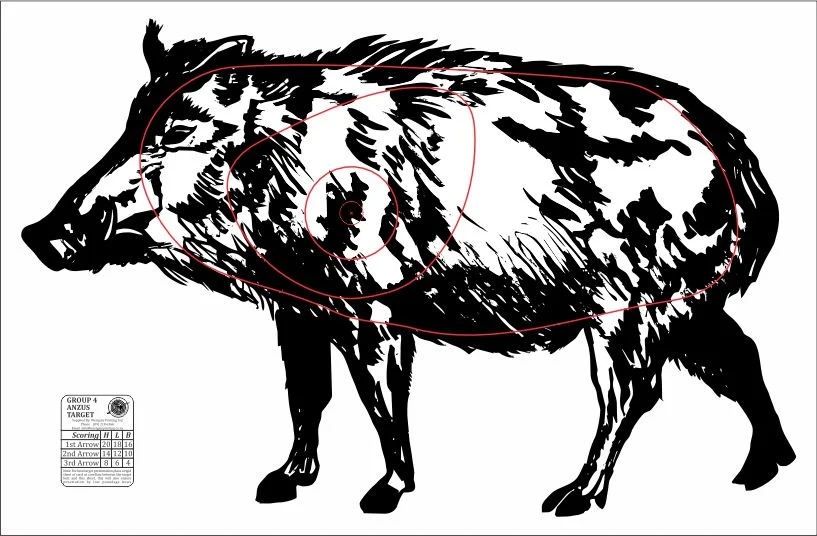
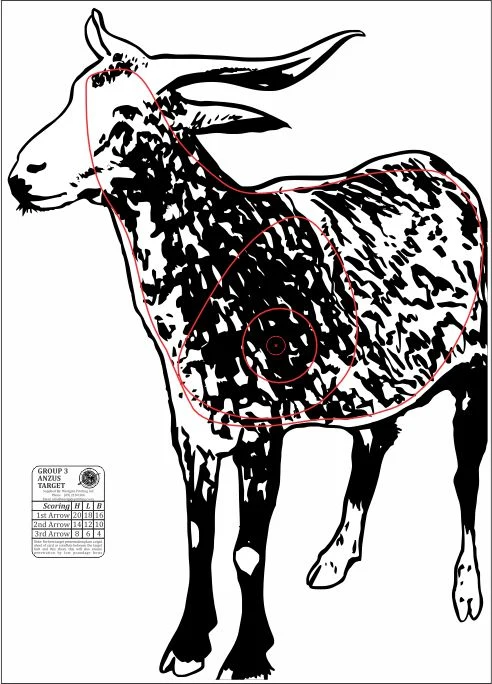
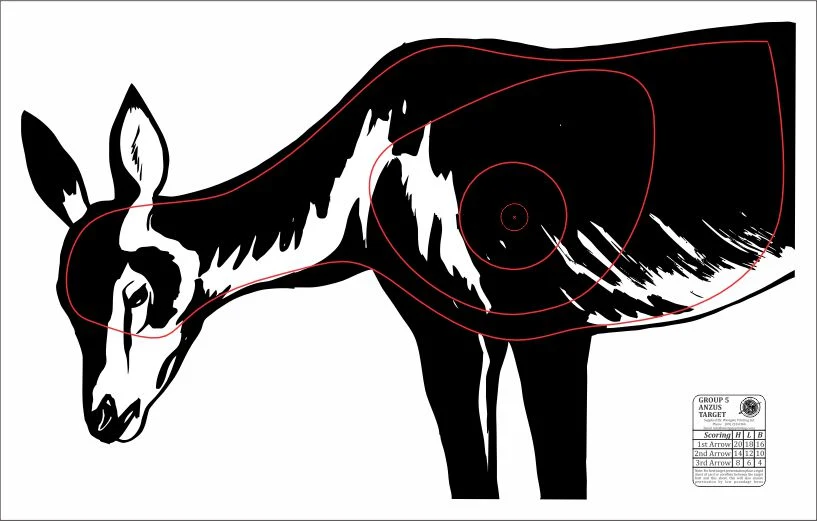
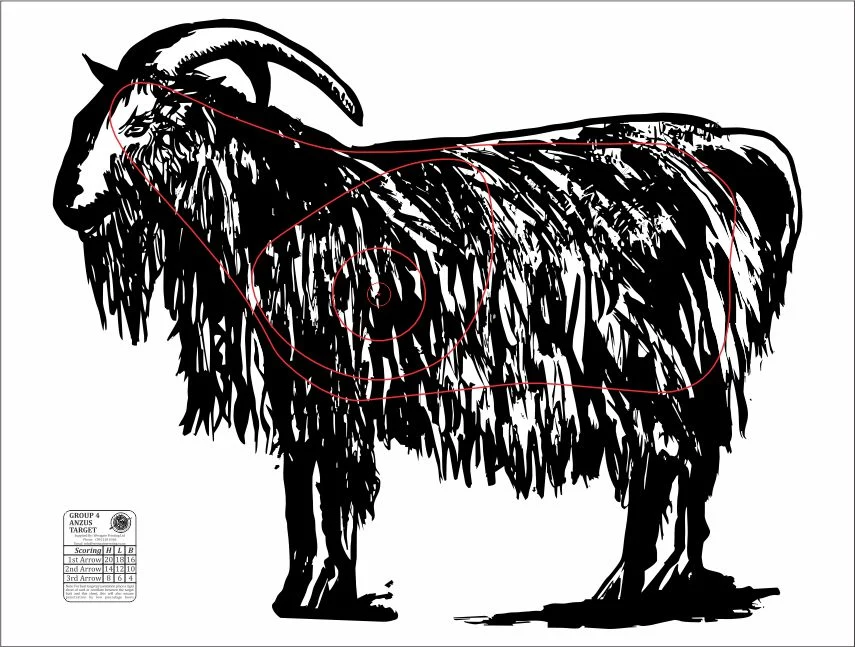
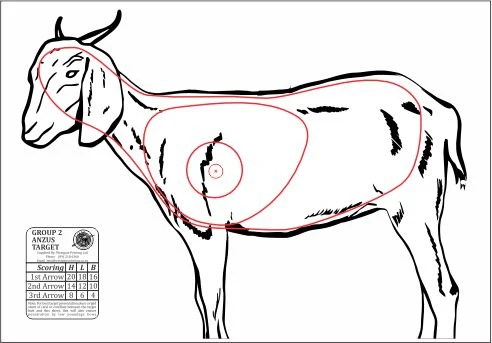
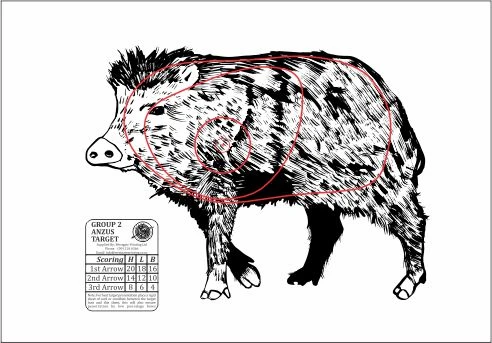
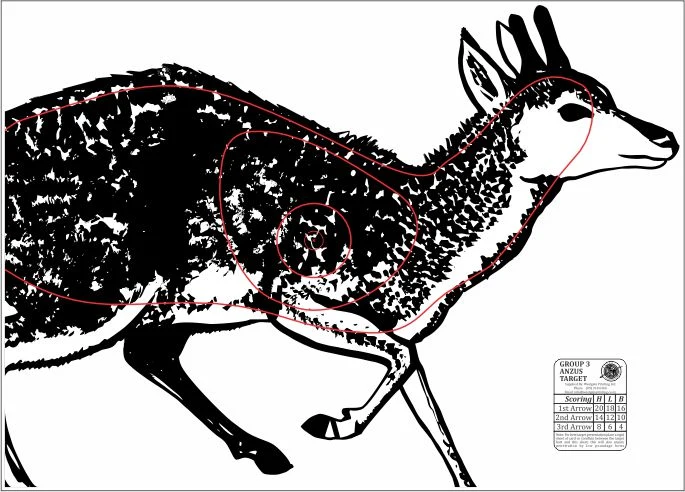
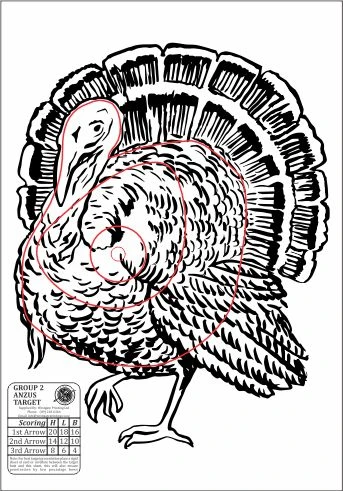
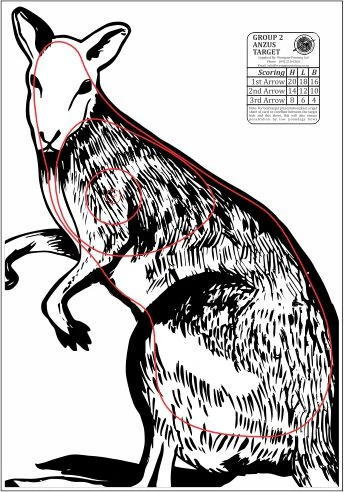
ANZUS Animal Targets
Dimensions (Width x Height):
Group 2 Turkey - 46 x 66cm
Group 2 Small Pig - 66 x 46cm
Group 2 Small Goat - 66 x 46cm
Group 2 Wallaby - 66 x 46cm
Group 3 Quartering Goat - 66 x 92cm
Group 3 Billy Goat - 92 x 66cm
Group 3 Sneaking Spiker- 92 x 66cm
Group 3 Chamois- 66 x 92cm
Group 4 Shaggy Goat- 115 x 87cm
Group 4 Large Pig - 110 x 72cm
Group 4 Bedded Fallow Deer- 90 x 100cm
Group 5 Red Deer - 110 x 70cm
These can be purchased from our supplier, Attitude Archery.
Understanding the Shooting Pegs (Distances)
Because this is an unmarked course, you won't know the exact yardage, but the colors tell you the maximum possible distance for that shot:
- Yellow Peg: Up to 20 yards max
- Blue Peg: Up to 25 yards max
- White Peg: Up to 35 yards max
- Red Peg: Up to 48 yards max
- Silver Peg: Up to 60 yards max
How to Play: The Three-Arrow System
The goal of this round is to "harvest" the target with as few shots as possible. You are allowed to shoot up to three arrows per target, but you stop shooting the moment you hit a scoring zone.
Preparation: Before you start, you must clearly number your arrows 1, 2, and 3 (usually written on the fletching/feathers) and shoot them in that exact order.
Arrow 1: You stand at your designated colored peg and take your first shot. If Arrow 1 hits the scoring area on the animal, you stop. Your turn for that target is over, and you walk away with the highest points.
Moving Closer (Arrow 2 & 3): If Arrow 1 misses the scoring area completely, you step forward to the next closest peg to shoot Arrow 2. If Arrow 2 misses, you move closer again for Arrow 3.
Note: If your arrow hits the paper image of the animal but misses the actual scoring rings drawn on it, it counts as a miss, and you must move to the next arrow/peg.
Scoring: Rewards for Accuracy
The scoring system heavily rewards first-shot accuracy. Each animal target has three internal rings hidden within its anatomy: the Heart (inner circle), the Lung (middle circle), and the Body (outer circle).
Points decrease significantly with each extra arrow you need to use:
Shot Attempt | Heart | Lung | Body |
|---|---|---|---|
1st Arrow | 20 points | 18 points | 16 points |
2nd Arrow | 14 points | 12 points | 10 points |
3rd Arrow | 8 points | 6 points | 4 points |
Important Rules for Members & Visitors
Line Cutting: On our relaxed club days (like our weekly club muster), if your arrow shaft is just touching the line of a higher scoring zone, you get the higher points. However, in official competitions, local rules usually require the arrow to completely cut through the line into the higher zone to count.
Safety First: Because archers move forward between shots if they miss, always ensure your group stays aligned and communicates clearly before moving to a closer peg.